| Step 1 |
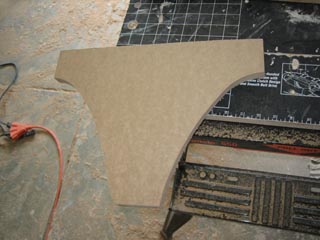
Cut your MDF planks to an approximate size using a jig saw. |
|
 |
 |
| |
|
|
|
| Step 2 |
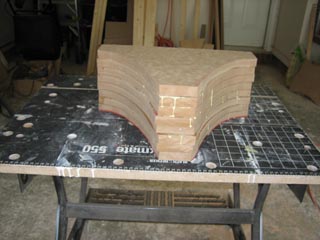
Glue enough of those cut planks together to make the piece deep enough for the costume. The image to the right was used for my costumes cod piece. |
|
 |
| |
|
|
|
| Step 3 |
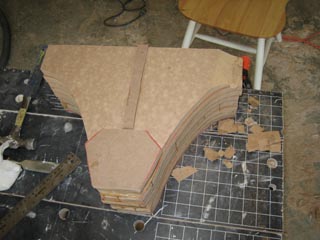
Glue on any detail or raised areas. This will be easier than trying to carve the detail later. |
|
 |
| |
|
|
|
| Step 4 |
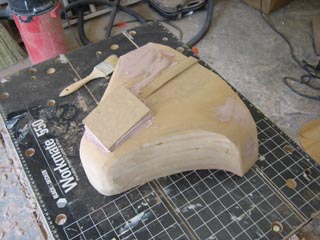
Start shaping the piece using a hammer and wood chisel. This is the easiest way to remove a lot of material quickly.
Once you have removed some material, try sanding it smooth. You may need to revert back to the chisel to take more material off. |
|
 |
| |
|
|
|
| Step 5 |
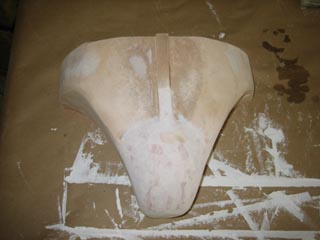
Sand down your piece to it's final shape. If you realize that you have removed too much material, don't worry, you can always mix up a batch of Bondo to remplace material where necessary. Bondo can also be used to create additional detail. I used a lot of it here on the lower end of my costumes cod piece armor mold. |
|
 |
| |
|
|
|
| Step 6 |
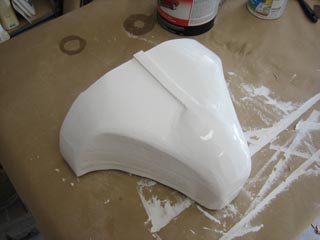
Once you wood mold is shaped, you can add a coat or two of wood primer to protect it. |
|
 |
| |
|
|
|


